Image-to-image translation is a fascinating and challenging task in computer vision and artificial intelligence.
It involves transforming an input image into a different output image while preserving the semantic content and style of the original image.
For example, you may want to turn a sketch into a realistic painting, change the season of a landscape photo, or convert a grayscale image into a color one.
In this blog post, we will introduce you to a novel and powerful technique that can overcome challenges and unlock photorealistic images with image-to-image translation: Stable Diffusion.
We will also show you how to use Img2Img, a popular and versatile tool that implements stable diffusion for various image-to-image tasks.
What is Stable Diffusion?
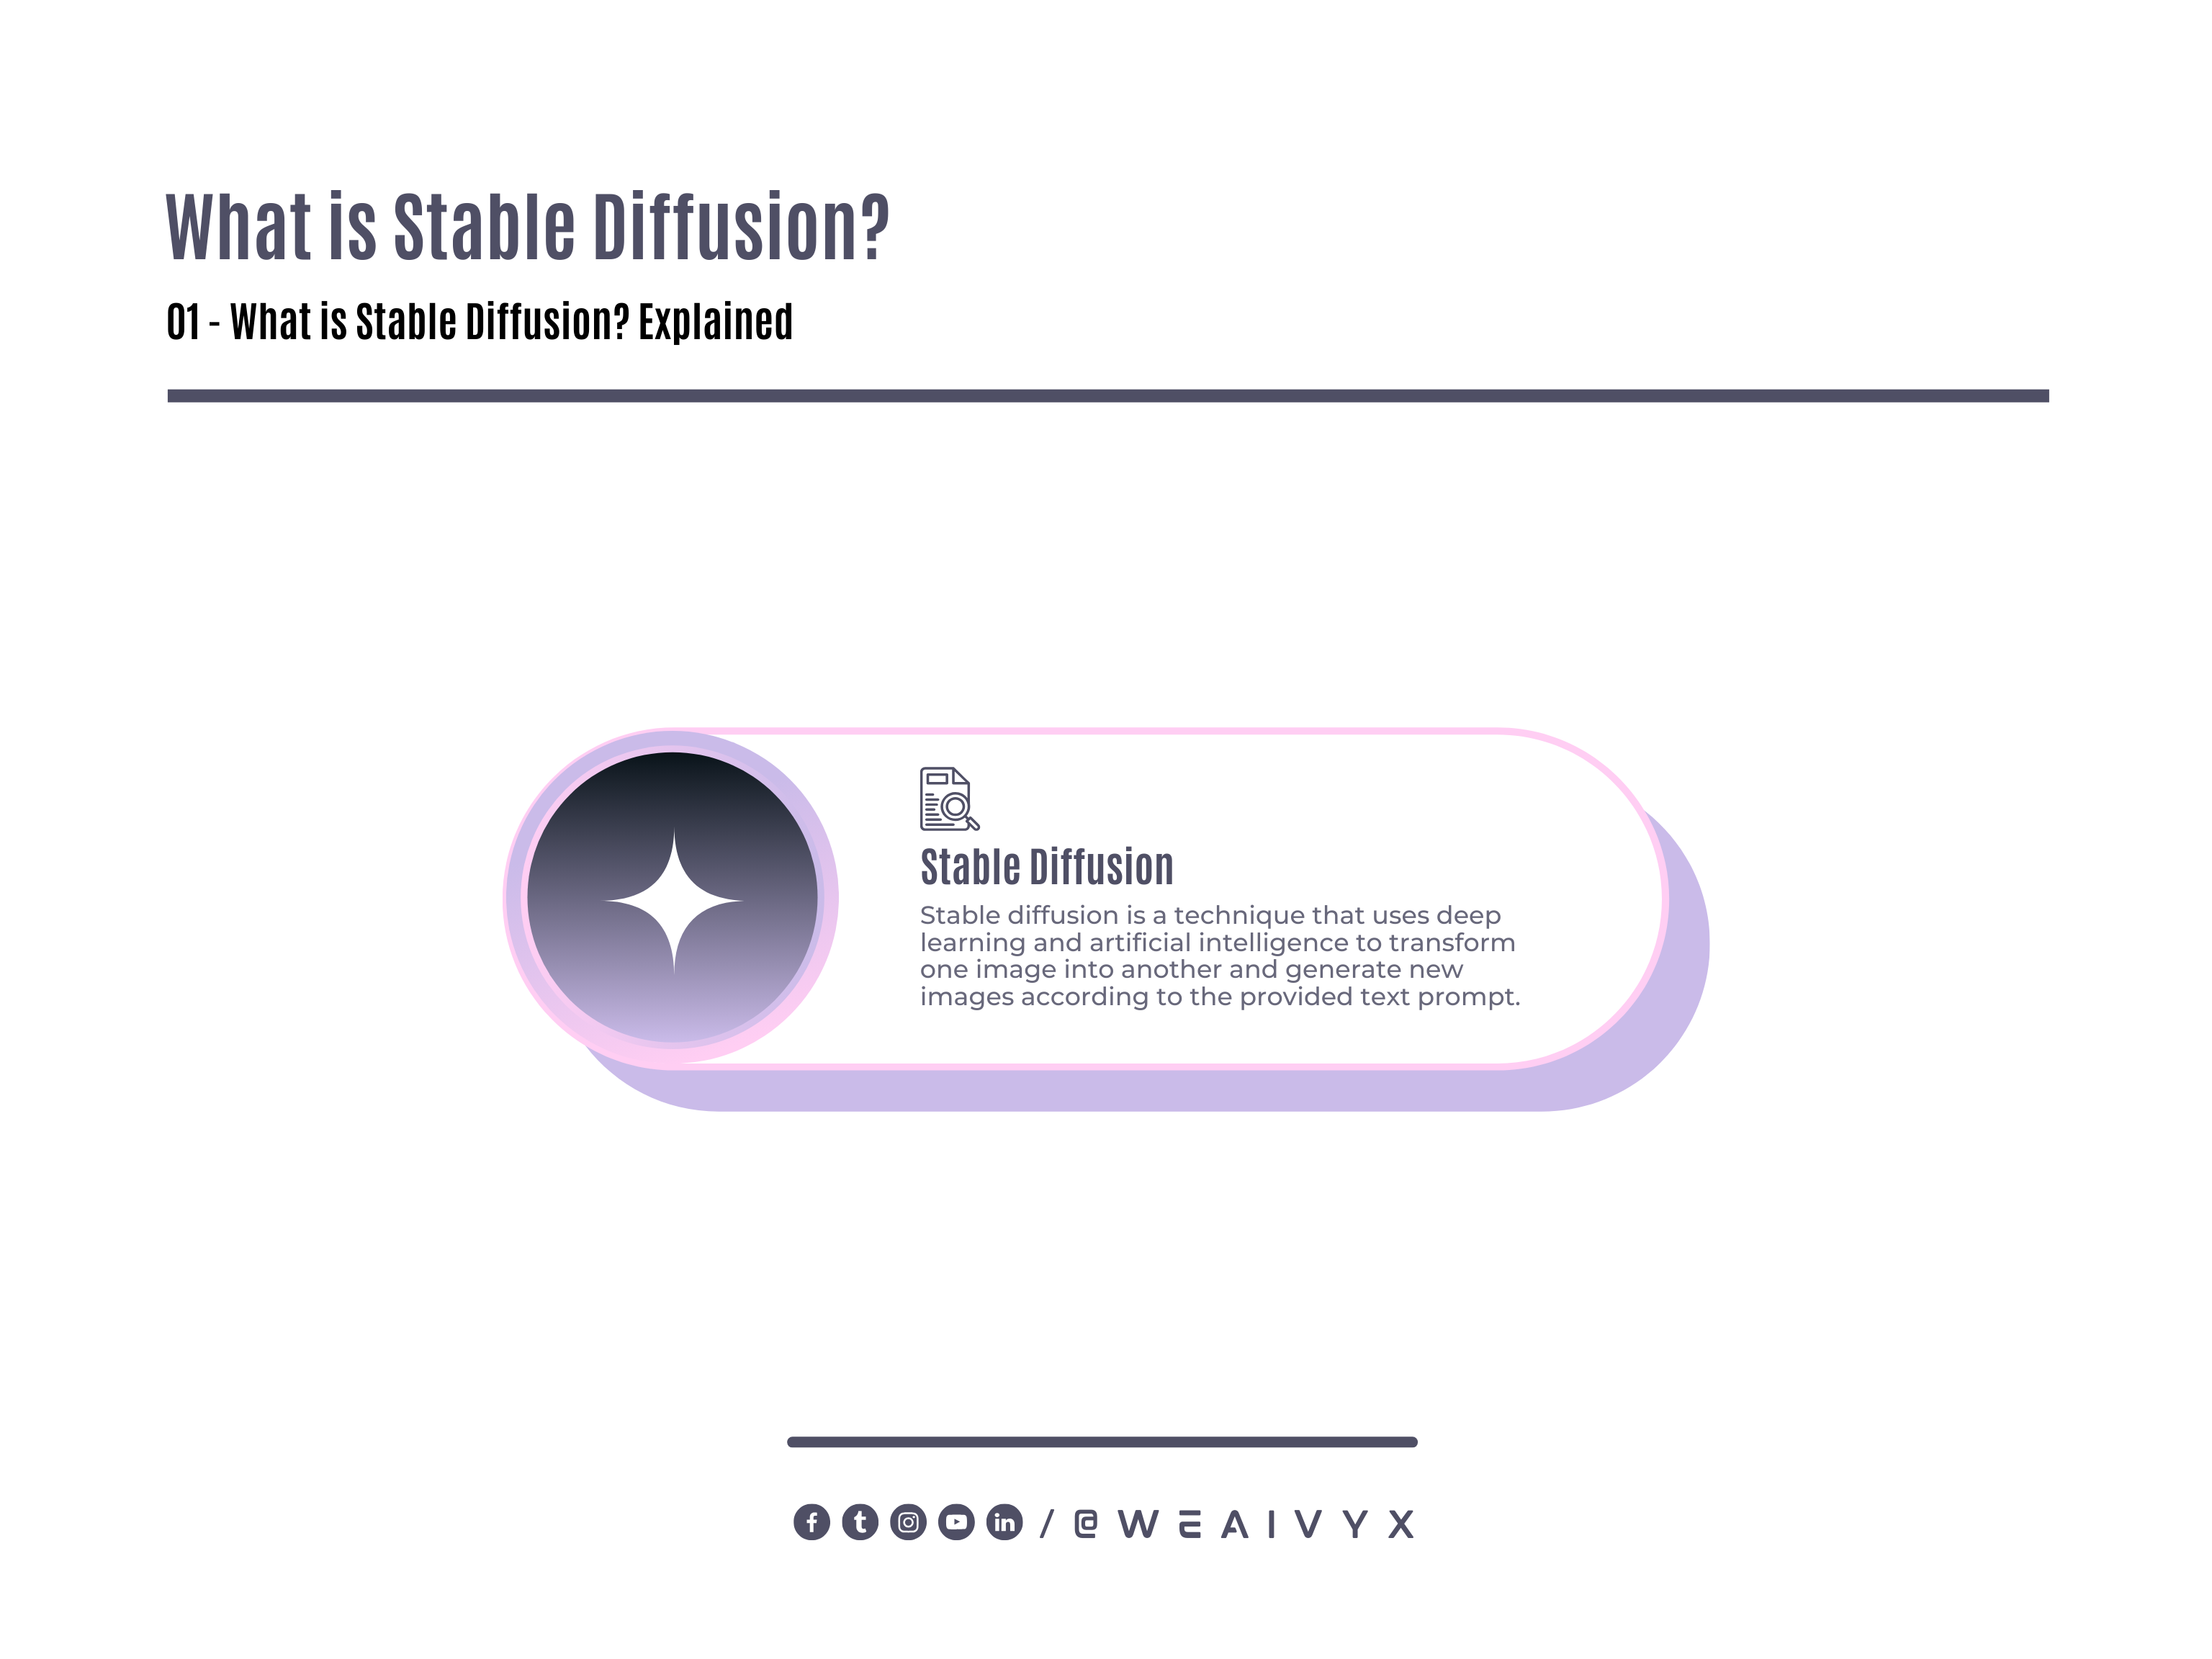
Stable diffusion is a technique that uses deep learning and artificial intelligence to transform one image into another and generate new images according to the provided text prompt.
It is based on the idea of diffusion processes, which are natural phenomena that describe how things spread or blend over time.
For example, heat diffusion describes how heat flows from hotter regions to colder regions until the temperature becomes uniform.
Similarly, stable diffusion describes how pixel values change from noisy regions to smooth regions until the image becomes clear.
Components of Stable Diffusion
The key to achieving stable diffusion lies in two components:
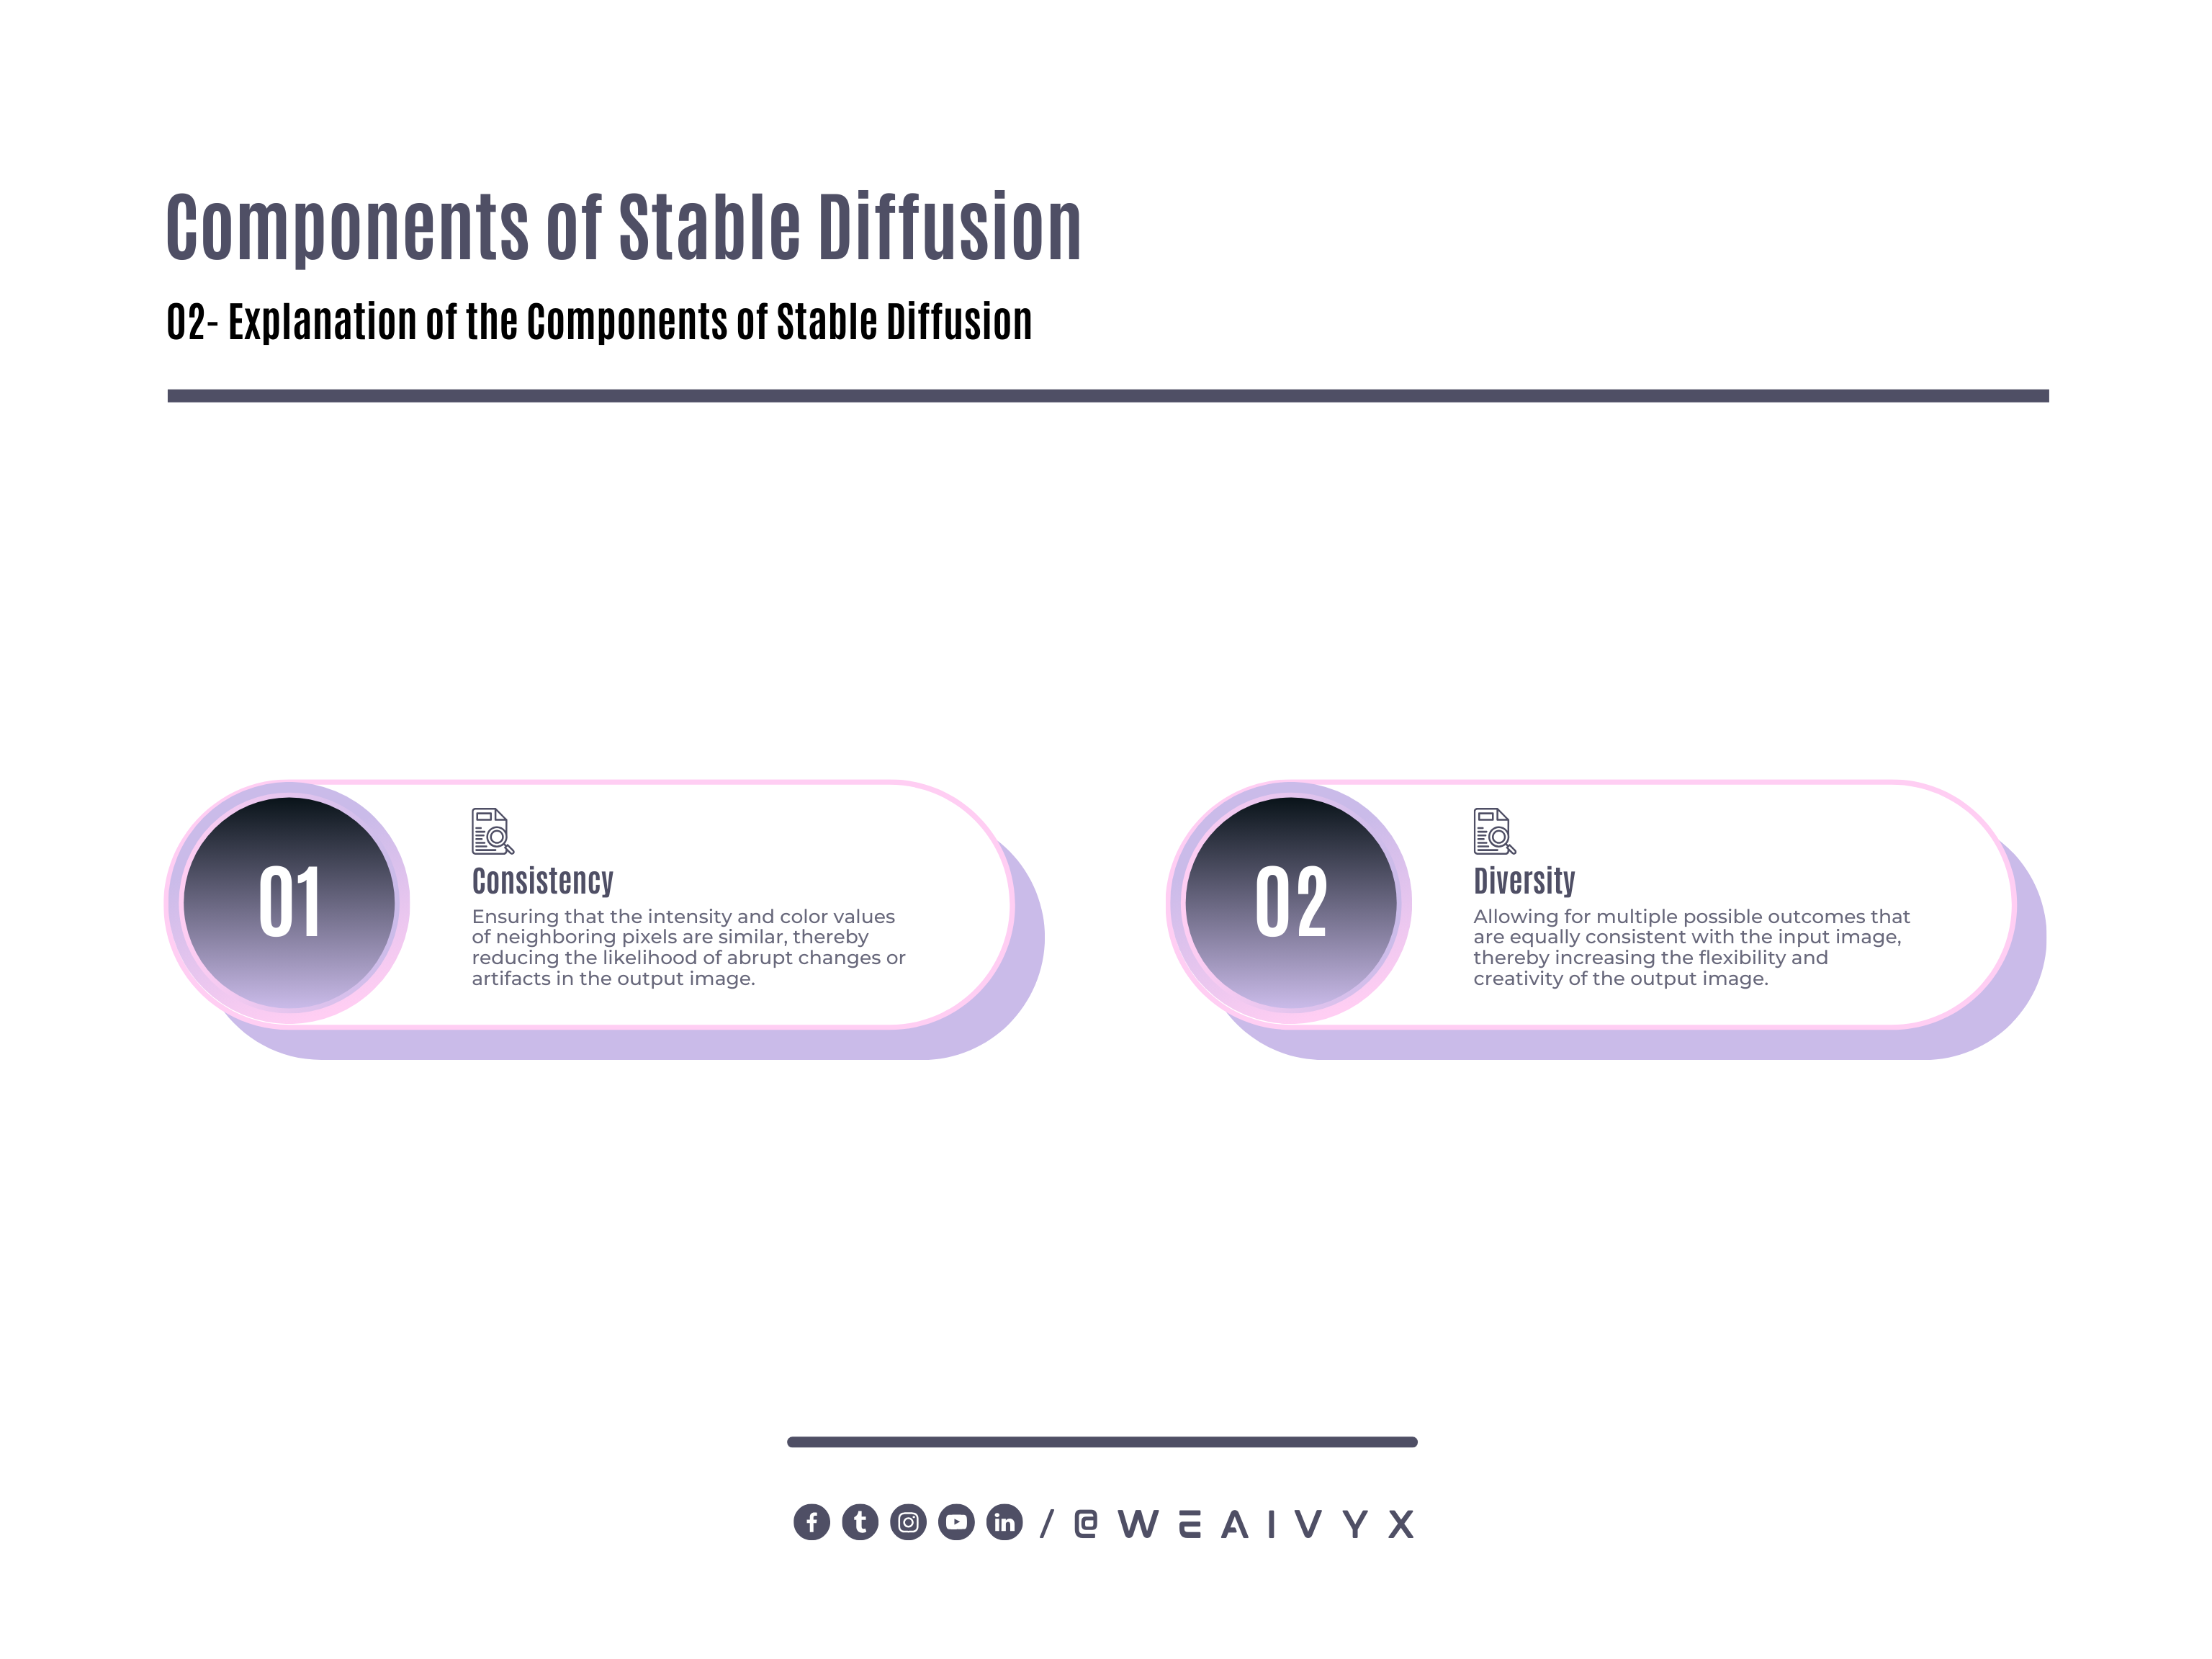
Consistency
Ensuring that the intensity and color values of neighboring pixels are similar, thereby reducing the likelihood of abrupt changes or artifacts in the output image.
Diversity
Allowing for multiple possible outcomes that are equally consistent with the input image, thereby increasing the flexibility and creativity of the output image.
Models of Stable Diffusion
Stable diffusion achieves these two components by using two models:
Variational Autoencoder (VAE):
A model that encodes an input image into a latent representation (a vector of numbers) that captures its essential features, and then decodes it back into an output image that resembles the input image.
Conditional U-Net
A model that takes an encoded latent representation and a text prompt as inputs, and modifies the latent representation according to the text prompt, resulting in a different output image that matches the text prompt.

Image-to-Image Translation
By combining these two models, stable diffusion can perform image-to-image translation smoothly and diversely. Here is how it works:
The input image is encoded into a latent representation by the VAE.
The latent representation is corrupted by adding random noise, making it more diverse.
The corrupted latent representation and the text prompt are fed into the conditional U-Net, which denoises (removes noise) and modifies (changes features) the latent representation according to the text prompt.
The modified latent representation is decoded back into an output image by the VAE.
The output image is compared with the input image and the text prompt, and the models are updated to minimize the difference between them.
This process is repeated for several steps until the output image becomes stable (consistent) and satisfactory (diverse).
The result is a photorealistic image transformation that preserves the semantic content and style of the input image while adding new features or effects according to the text prompt.
Why Stable Diffusion?
Stable diffusion is an advanced and innovative technique that offers several advantages over other methods of image-to-image translation, such as:
Data Efficiency
Stable diffusion does not require paired data (images corresponding to each other in different domains or modalities) to perform image-to-image translation.
Instead, it only requires unpaired data (images that belong to different domains or modalities) and text prompts (descriptions of the desired output image).
This makes collecting and using data for various image-to-image tasks easier and cheaper.
Output Quality
Stable diffusion produces high-quality output images that are smooth, realistic, and diverse.
It avoids common problems such as blurring, artifacts, or distortions that may occur in other methods.
It also allows for multiple outcomes equally valid or desirable, depending on the user’s preference or intention.
Task Versatility
Stable diffusion can handle a wide range of image-to-image tasks, such as sketch-to-photo, photo-to-painting, style transfer, colorization, super-resolution, and more.
It can also perform cross-domain or cross-modal image-to-image translation, such as text-to-image, image-to-audio, or image-to-video.
It can even perform image editing or enhancement, such as adding or removing objects, changing backgrounds, or adjusting brightness or contrast.
How to Use Img2Img in Stable Diffusion?
Img2Img is a popular and versatile tool that implements stable diffusion for various image-to-image tasks.
It is based on the Stable Diffusion model, which was created by researchers and engineers from CompVis, Stability AI, Runway, and LAION.
Img2Img uses deep learning and artificial intelligence to transform one image into another, based on a text prompt. To use Img2Img in stable diffusion, you need to follow these steps:
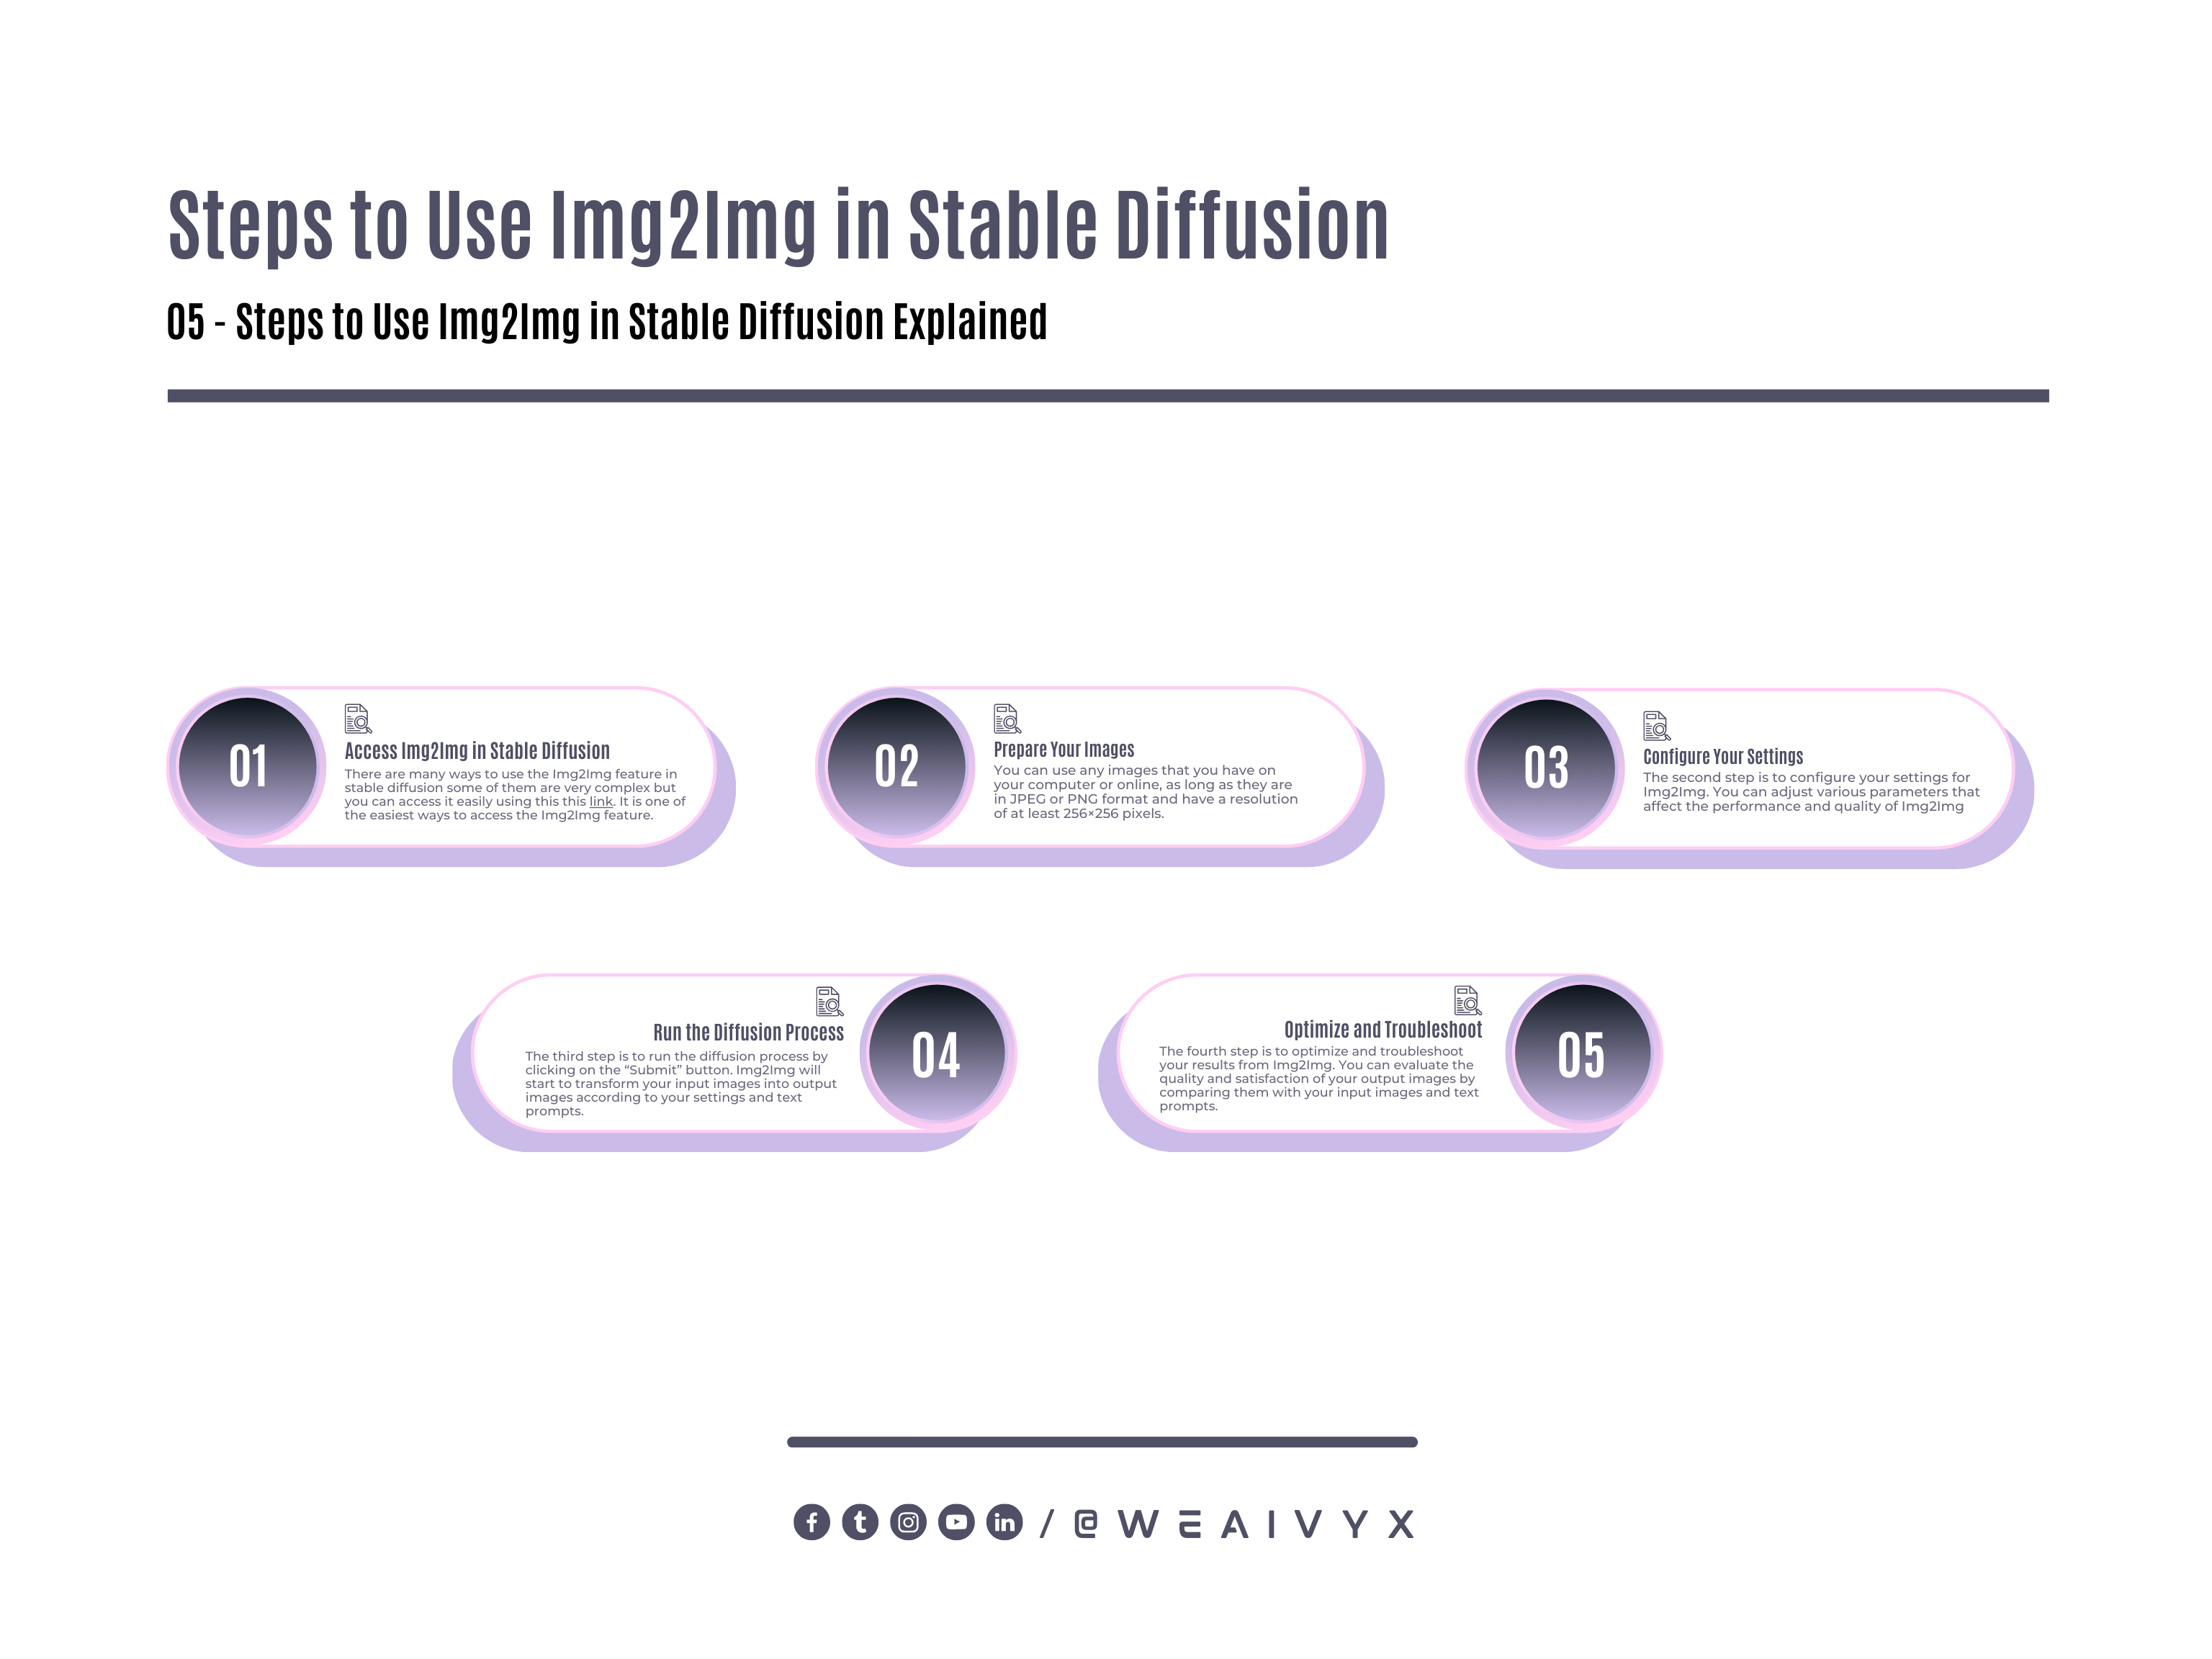
Access Img2Img in Stable Diffusion
There are many ways to use the Img2Img feature in stable diffusion some of them are very complex but you can access it easily using this link. It is one of the easiest ways to access the Img2Img feature.
Prepare Your Images
The first step is to prepare the images that you want to use as inputs for Img2Img. You can use any images that you have on your computer or online, as long as they are in JPEG or PNG format and have a resolution of at least 256×256 pixels.
You can also use the images that are provided by Img2Img as examples.
Configure Your Settings
The second step is to configure your settings for Img2Img. You can adjust various parameters that affect the performance and quality of Img2Img, such as:
Strength: The strength of the image transformation. A higher value means more changes or effects in the output image.
Num inference/iteration steps: The number of steps that Img2Img takes to perform the image transformation. A higher value means more iterations and refinement in the output image.
Guidance scale: The weight of the text prompts in guiding the image transformation. A higher value means more influence of the text prompt in the output image.
Negative prompt: An optional text prompt that specifies what features or effects you do not want in the output image.
For example, if you want to remove glasses from a face image, you can use “no glasses” as a negative prompt.
Num images per prompt: The number of output images that Img2Img generates for each input image and text prompt combination. A higher value means more diversity and variety in the output images.
Run the Diffusion Process
The third step is to run the diffusion process by clicking on the “Submit” button. Img2Img will start to transform your input images into output images according to your settings and text prompts. You can monitor the progress and results of Img2Img on the screen.
Optimize and Troubleshoot
The fourth step is to optimize and troubleshoot your results from Img2Img. You can evaluate the quality and satisfaction of your output images by comparing them with your input images and text prompts.
You can also try different settings and text prompts to improve your results or achieve different effects. If you encounter any issues or problems with Img2Img, such as:
The output images are blurry, noisy, or distorted.
The output images do not match the semantic content and style of the input image but also retain the fine details and realistic appearance of the original image.
For example, how do you avoid blurring, artifacts, or distortions in the output image?
Or how do you ensure that the output image looks natural and plausible?
The output images do not match the text prompt or the user’s expectations.
For example, the output images are too similar or too different from the input images, or they have unwanted features or effects.
Tips to Optimize Your Results
You can try some of the following tips to optimize and troubleshoot your results:
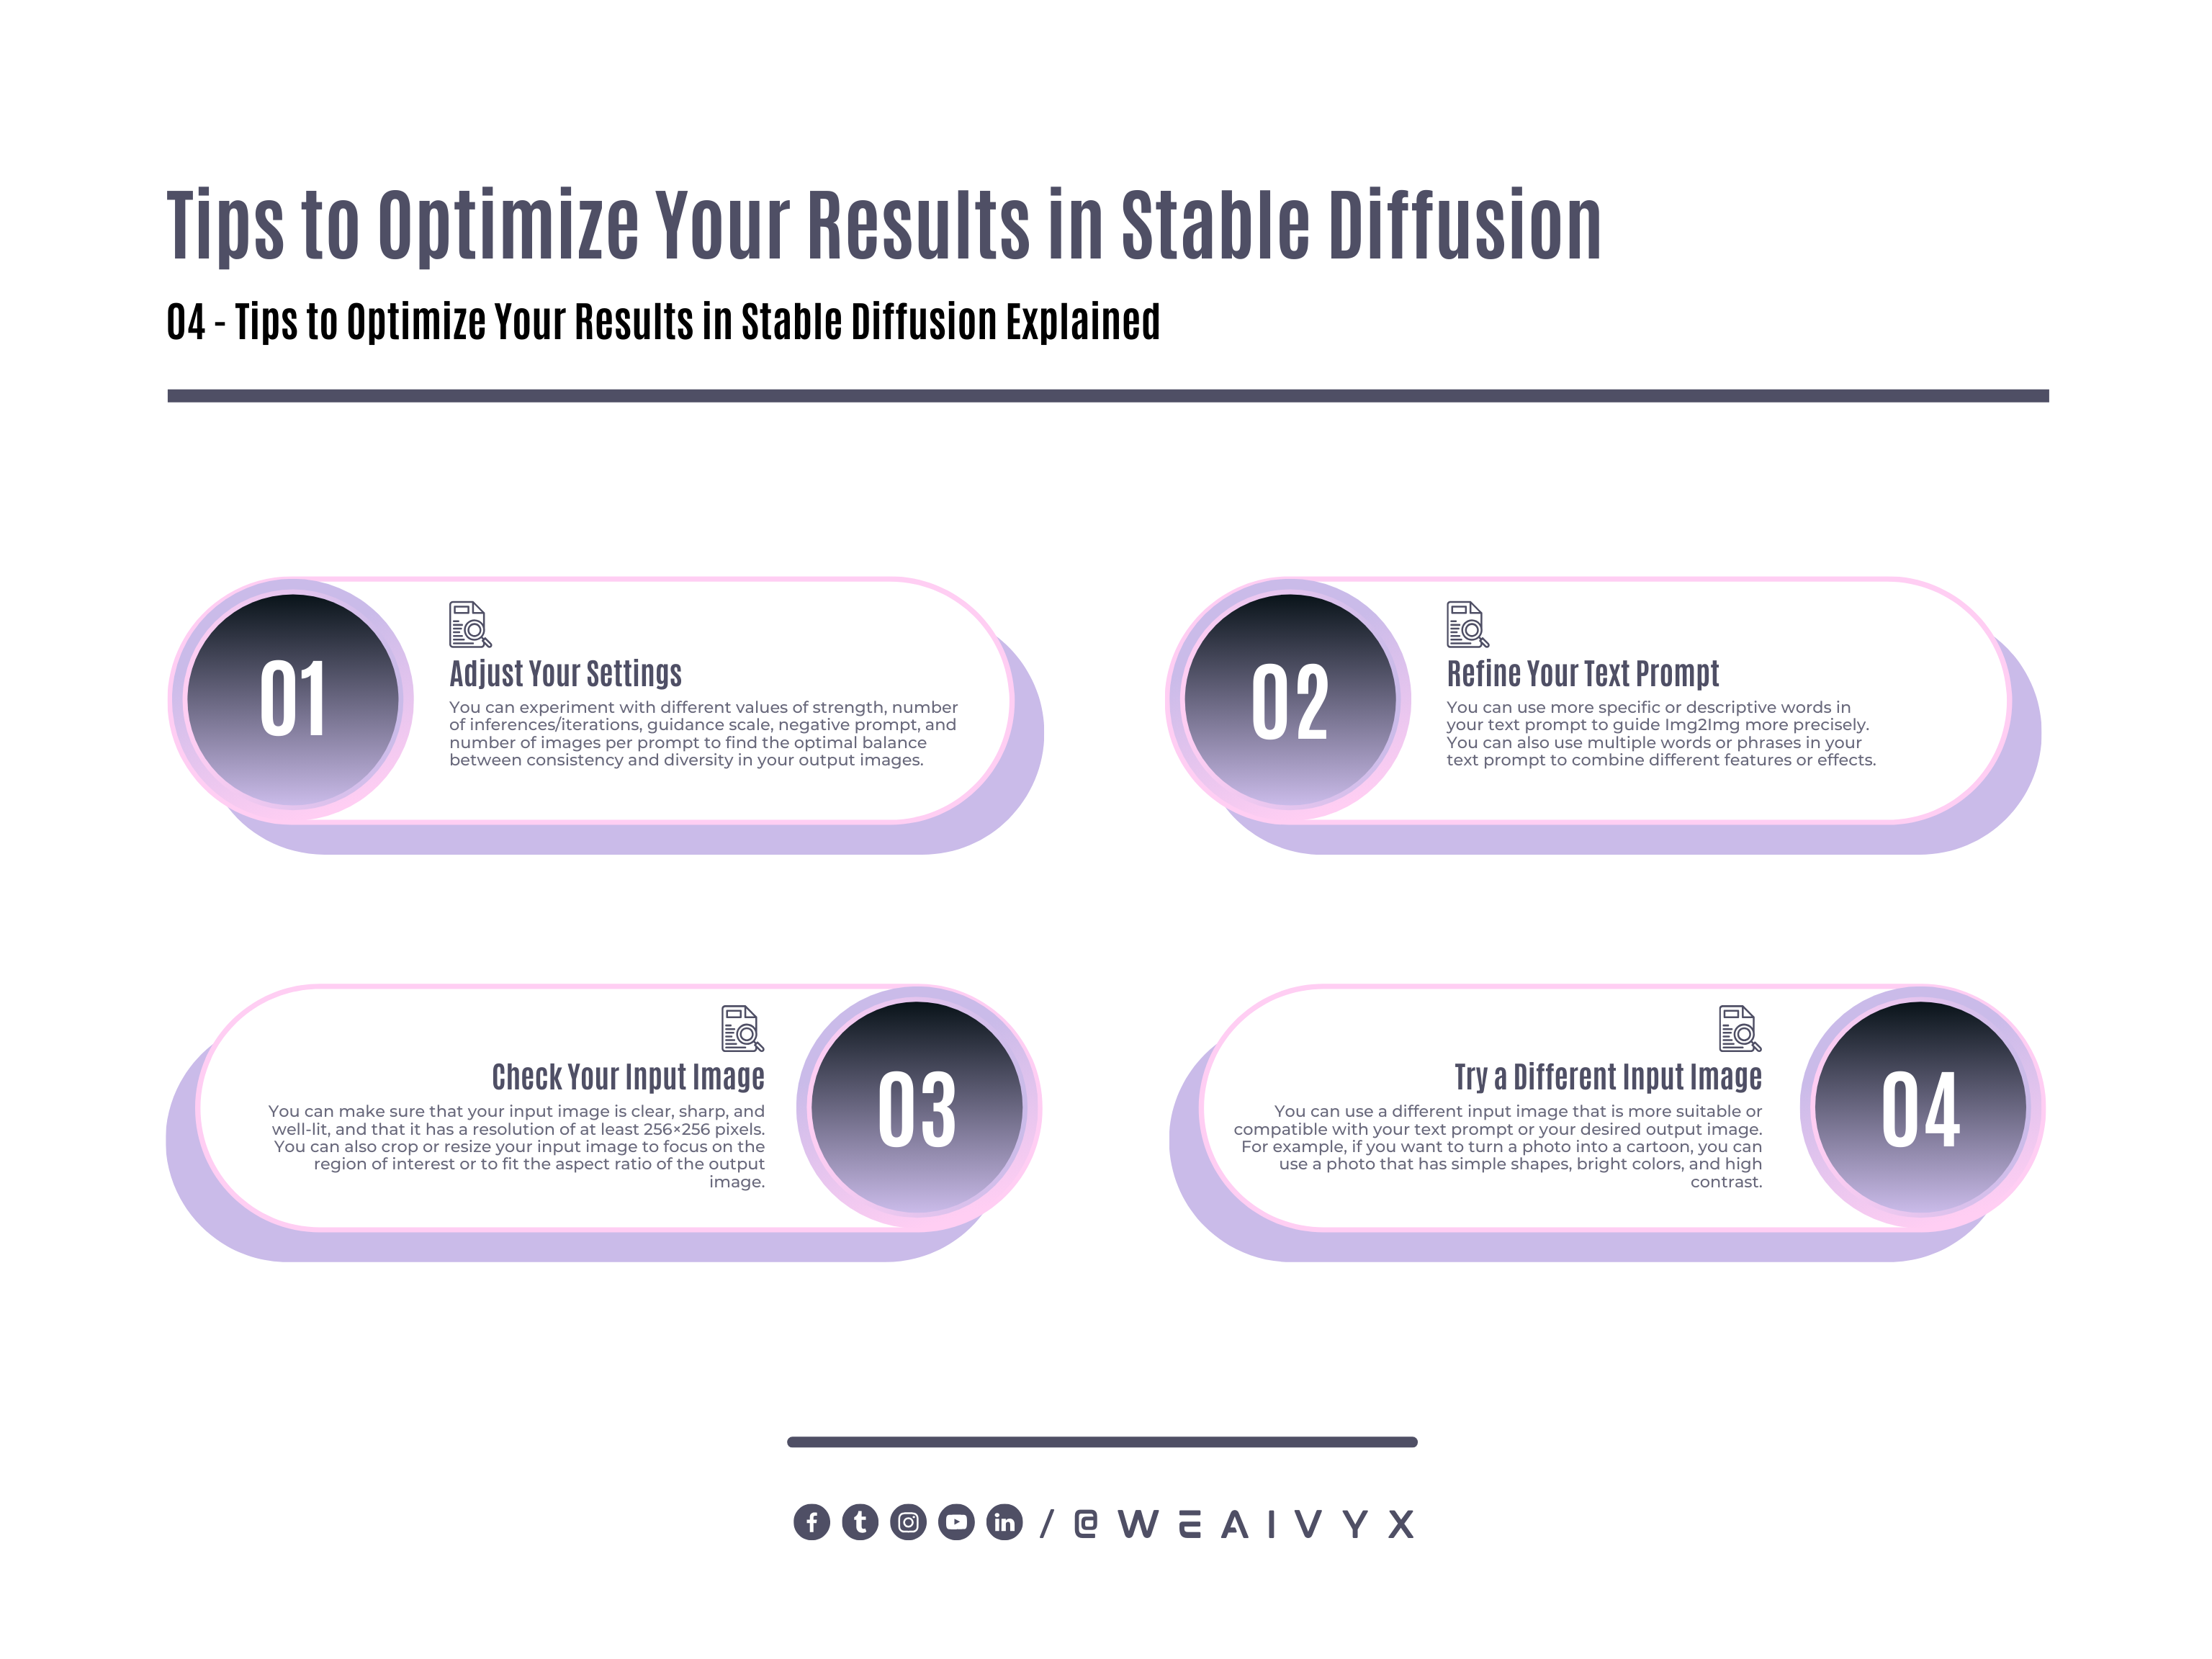
Adjust Your Settings
You can experiment with different values of strength, number of inferences/iterations, guidance scale, negative prompt, and number of images per prompt to find the optimal balance between consistency and diversity in your output images.
You can also use the “Clear” button to restore the default settings.
Refine Your Text Prompt
You can use more specific or descriptive words in your text prompt to guide Img2Img more precisely.
For example, instead of “a painting”, you can use “an impressionist painting” or “a painting by Van Gogh”.
You can also use multiple words or phrases in your text prompt to combine different features or effects.
For example, instead of “a sketch”, you can use “a sketch with shading and color”.
Check Your Input Image
You can make sure that your input image is clear, sharp, and well-lit, and that it has a resolution of at least 256×256 pixels.
You can also crop or resize your input image to focus on the region of interest or to fit the aspect ratio of the output image.
Try a Different Input Image
You can use a different input image that is more suitable or compatible with your text prompt or your desired output image.
For example, if you want to turn a photo into a cartoon, you can use a photo that has simple shapes, bright colors, and high contrast.
Advantages of Using Img2img With Stable Diffusion
There are many advantages of using image-to-image translation with stable diffusion some of the advantages are given below:
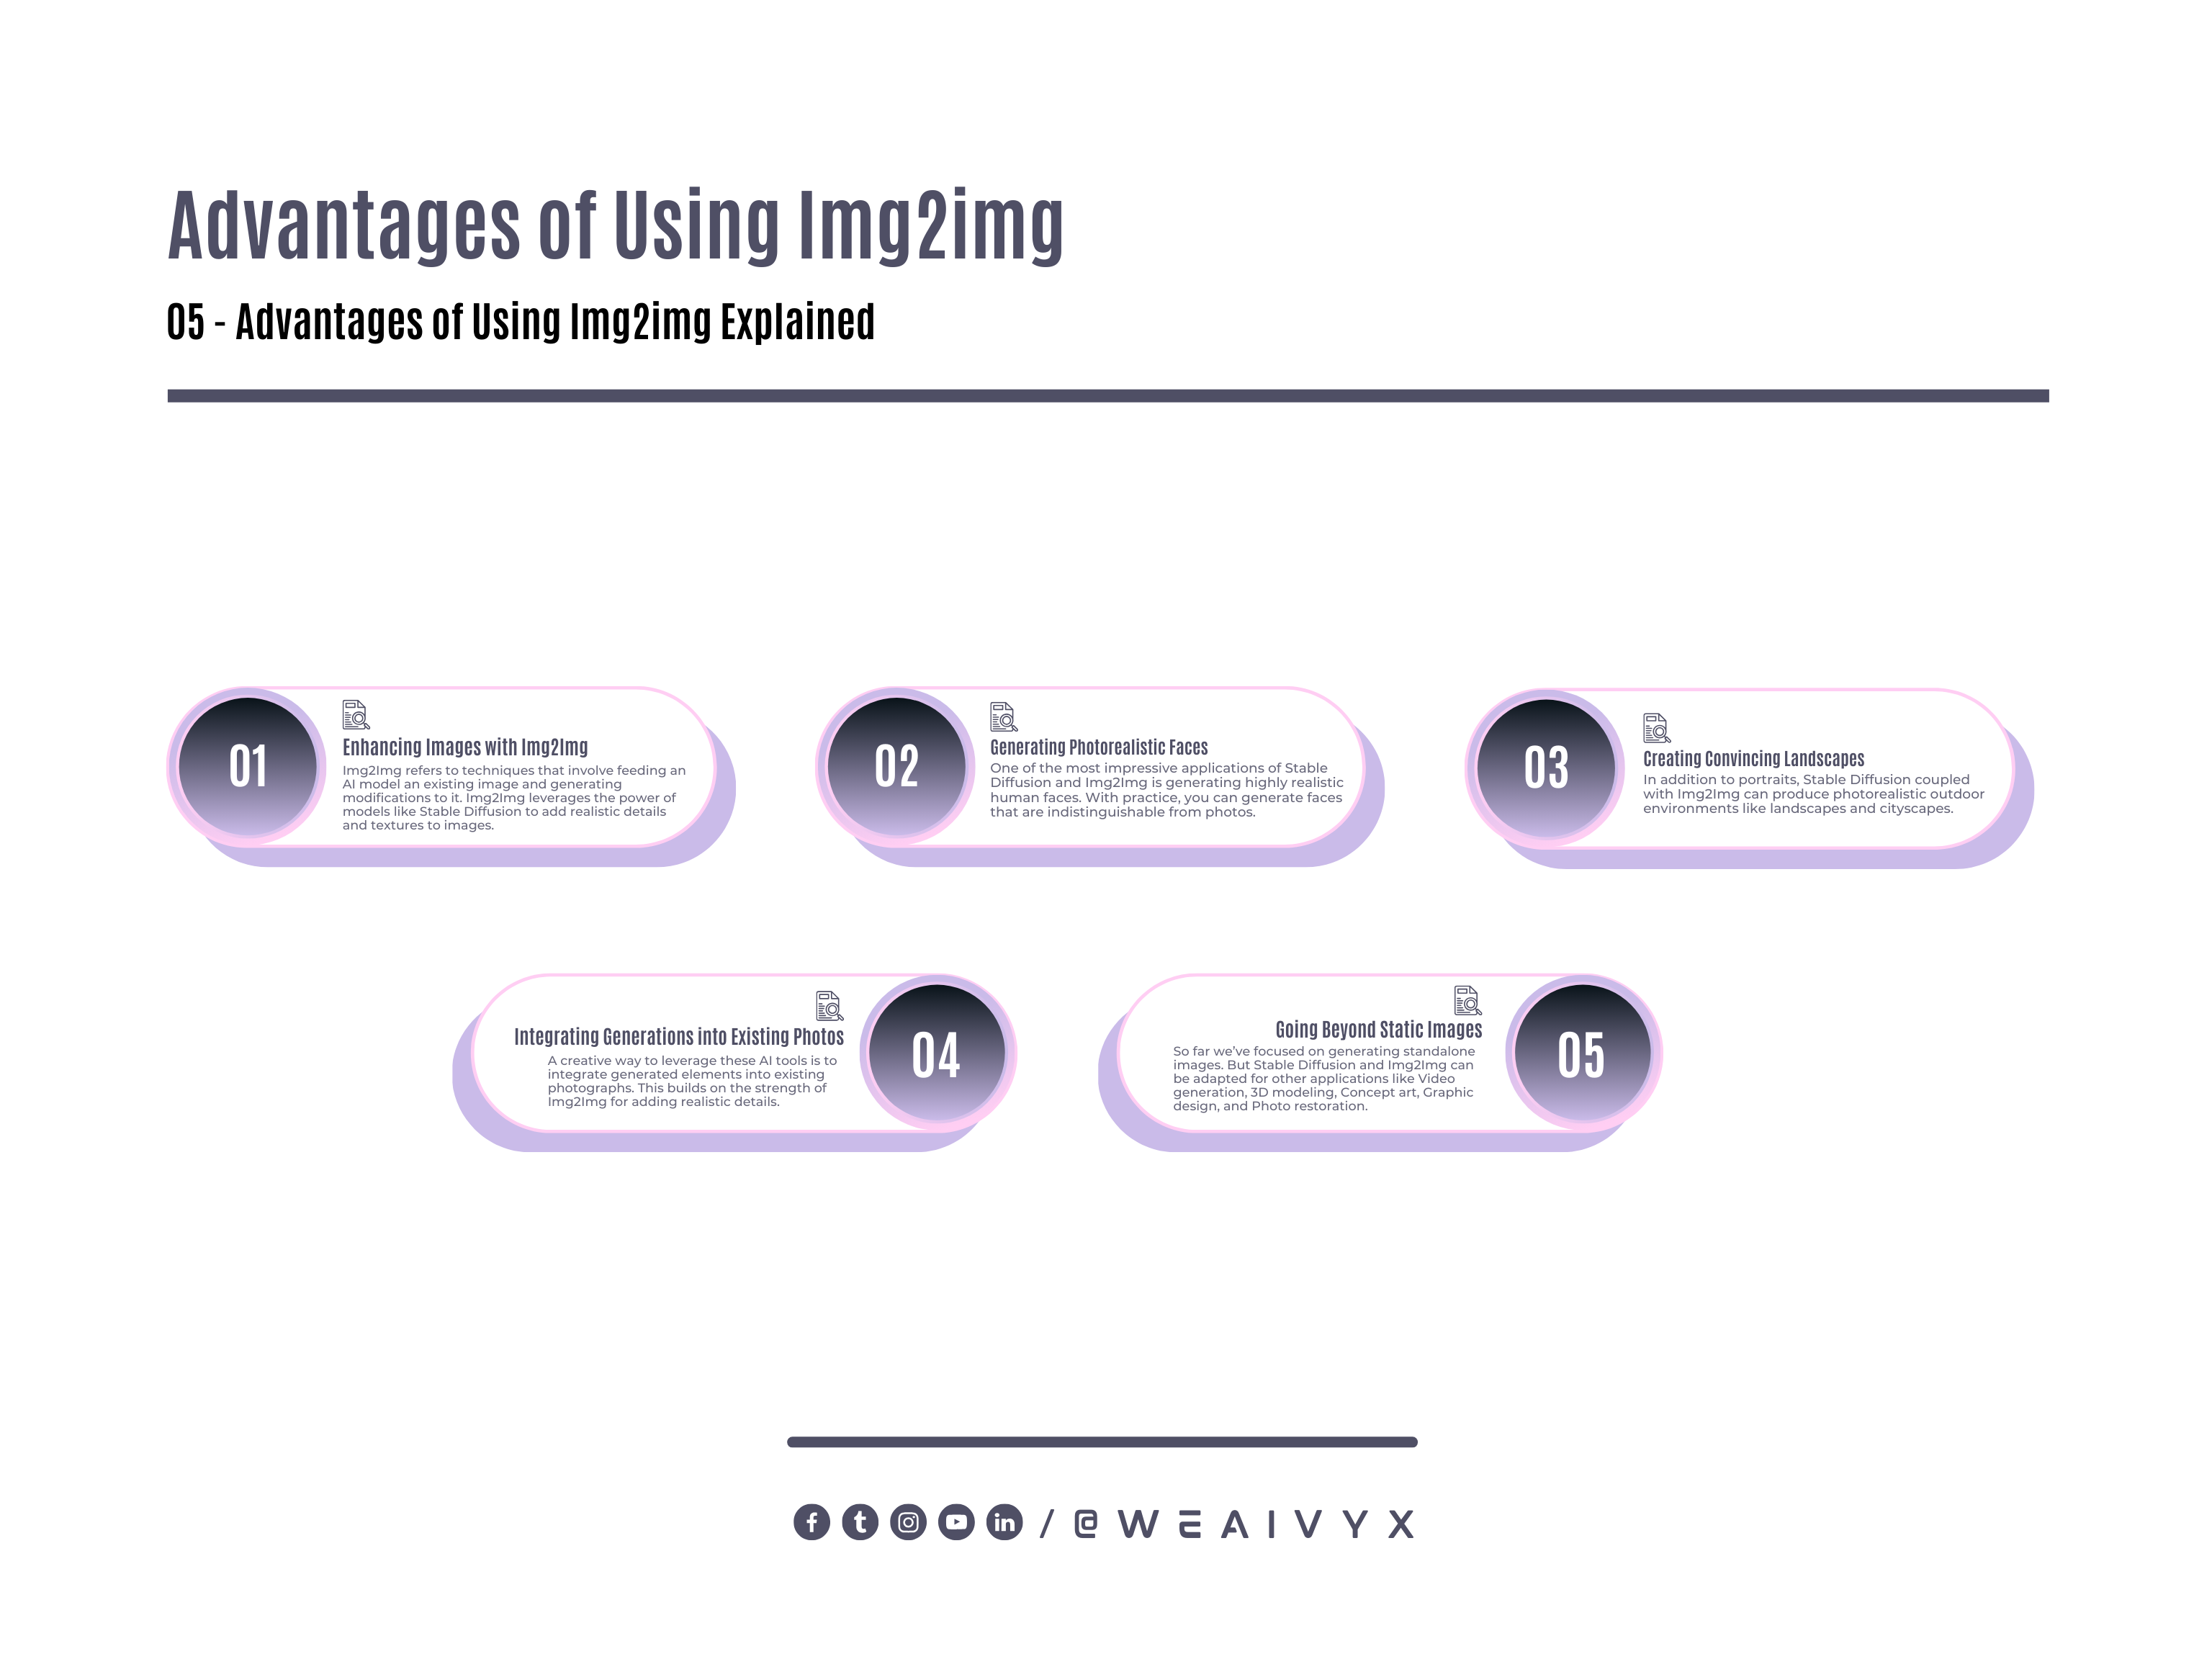
Enhancing Images with Img2Img
Img2Img refers to techniques that involve feeding an AI model an existing image and generating modifications to it.
For example, you could input a low-resolution image and get a high-resolution version as output.
Img2Img leverages the power of models like Stable Diffusion to add realistic details and textures to images. Some ways Img2Img can enhance Stable Diffusion outputs:
Increase image resolution and sharpness
Remove artifacts and aberrations
Make facial features more defined
Add environmental details like reflections
Match the lighting and color grading of a reference photo
Img2Img models build on what’s already in an image, so they excel at photorealism compared to generating everything from scratch.
Generating Photorealistic Faces
One of the most impressive applications of Stable Diffusion and Img2Img is generating highly realistic human faces. Here are some tips for getting great results:
Use descriptive prompts like “A photo of a smiling young woman with long blonde hair”. Avoid vague prompts.
Generate multiple variations and cherry-pick the best outputs.
Upscale the image 2-4x with Img2Img to add definition.
Use Img2Img to add environmental details like bokeh, lighting, and reflections.
Blend elements from multiple outputs for ideal facial features, expressions, angles, etc.
With practice, you can generate faces that are indistinguishable from photos.
Creating Convincing Landscapes
In addition to portraits, Stable Diffusion coupled with Img2Img can produce photorealistic outdoor environments like landscapes and cityscapes.
Some best practices:
Use prompts that include details about mountains, trees, buildings, water, weather conditions, etc.
Generate a batch of images and look for good overall composition.
Upscale with Img2Img, focusing on areas lacking detail like skies, foliage, and brickwork.
Add lighting effects, lens effects, and depth of field with Img2Img.
Combine elements from different outputs for the perfect scene.
The AI will realistically render objects and lighting based on your descriptive prompt.
Integrating Generations into Existing Photos
A creative way to leverage these AI tools is to integrate generated elements into existing photographs. This builds on the strength of Img2Img for adding realistic details.
Some ideas:
Generate a portrait and blend it onto a photo background scene
Add objects like furniture into interior photos
Create new buildings/structures and blend them into cityscape photos
Have the AI expand the edges of photos so you can extend scenes further
Careful masking and blending will be required to make the integrated elements look natural. But the photorealism possible makes it worthwhile.
Going Beyond Static Images
So far we’ve focused on generating standalone images. But Stable Diffusion and Img2Img can be adapted for other applications like:
Video generation – interpolate sequences of generated images
3D modeling – generate textures from different angles
Concept art – iterate on characters, vehicles, environments
Graphic design – create logos, posters, book covers, etc.
Photo restoration – fill in missing sections, upscale quality
The AI artistic capabilities extend far beyond just static images.
Difficulties in Achieving High-Quality Images
There are many applications of image-to-image translation, such as content creation, data augmentation, visualization, and artistic expression.
However, there are also many difficulties and limitations in achieving high-quality image transformations, such as:
The Lack of Paired Data
In many cases, it is hard or impossible to find pairs of images that correspond to the same scene or object in different domains or modalities.
For example, how do you find a pair of images that show the same person with and without glasses? Or the same building day and night?
The Diversity and Complexity of the Output
The output image may have multiple possible variations that are equally valid or desirable, depending on the user’s preference or intention.
For example, how do you decide what color to use for a sketch? Or what style to apply for a painting? Or what facial expression to generate for a portrait?
The Preservation of Details and Realism
The output image should not only match the semantic content and style of the input image but also retain the fine details and realistic appearance of the original image.
For example, how do you avoid blurring, artifacts, or distortions in the output image? Or how do you ensure that the output image looks natural and plausible?
The Future of AI-Generated Photorealism
Stable Diffusion and Img2Img represent major leaps in AI’s ability to synthesize realistic imagery. We’re nearing the point where average viewers can’t discern AI art from reality.
But there are still limitations and challenges:
Detail generation diminishes for complex scenes
Strange artifacts can emerge in some cases
Photoreal faces don’t yet capture “life” perfectly
Model training data has biases baked in
As algorithms and computing power improve, we can expect more breakthroughs. In the coming years, AI promises to unlock greater creative potential than ever before.
The democratization of these models also raises ethical issues on data rights, artistic ownership, and misuse that society will need to grapple with.
But used responsibly, AI image generation could profoundly expand our visual imagination.
The rapid pace of progress makes this an exciting time for harnessing the creative power of AI.
Conclusion
In this blog post, we have introduced you to stable diffusion, a novel and powerful technique that can unlock photorealistic images with image-to-image translation.
We have also shown you how to use Img2Img, a popular and versatile tool that implements stable diffusion for various image-to-image tasks.
This covers the key capabilities of Stable Diffusion and Img2Img and how you can use them together to create photorealistic imagery.
With practice, these models unlock the ability to bring any visual idea to life with a tangible level of realism.
We’re just beginning to scratch the surface of what’s possible – the future promises to be full of amazing AI-generated art pushing the boundaries of photorealism even further.
We hope that you have enjoyed learning about stable diffusion and Img2Img and that you will try them out for yourself. We hope that you have found it informative and useful.
